
January 6, 2024

.svg)

さっそくGraphQLスキーマを使ってみましょう。今日、私たちは単なる理論の話ではなく、物事の実際的な側面に飛び込んでいます。GraphQL の魔法を実装しようとしているので、気を引き締めてください!
1。という名前の新しいファイルを作成します。 「回路図。」 graphql ディレクトリにあります。このファイルを使用して、graphql サーバーのすべてのタイプを定義します。
2。タイプを定義してください。 「投稿」 次のアイテムが含まれています
(a) ID
(b) タイトル
(c) コンテンツ
 type Post {
   id: ID!             # id of the post
   title: String!      # title of the post
   content: String!    # textual content of the post
 }
3。タイプを定義してください。 「ユーザー」 次のアイテムが含まれています
(a) ID
(b) ユーザー名
(c) 電子メール
(d) 投稿:投稿がユーザーとどのように関連しているかを示します
 type User {
   id: ID!              # id of the user
   username: String!    # username of the user
   email: String!       # email of the user
   posts: [Post]        # posts written by the user
 }
4。ユーザーと投稿を取得するための 2 つのクエリタイプを定義します。
 type Query {
         getUser(id: ID): User    # query that will return user
         posts:[Post]             # query that will return list of post
     }
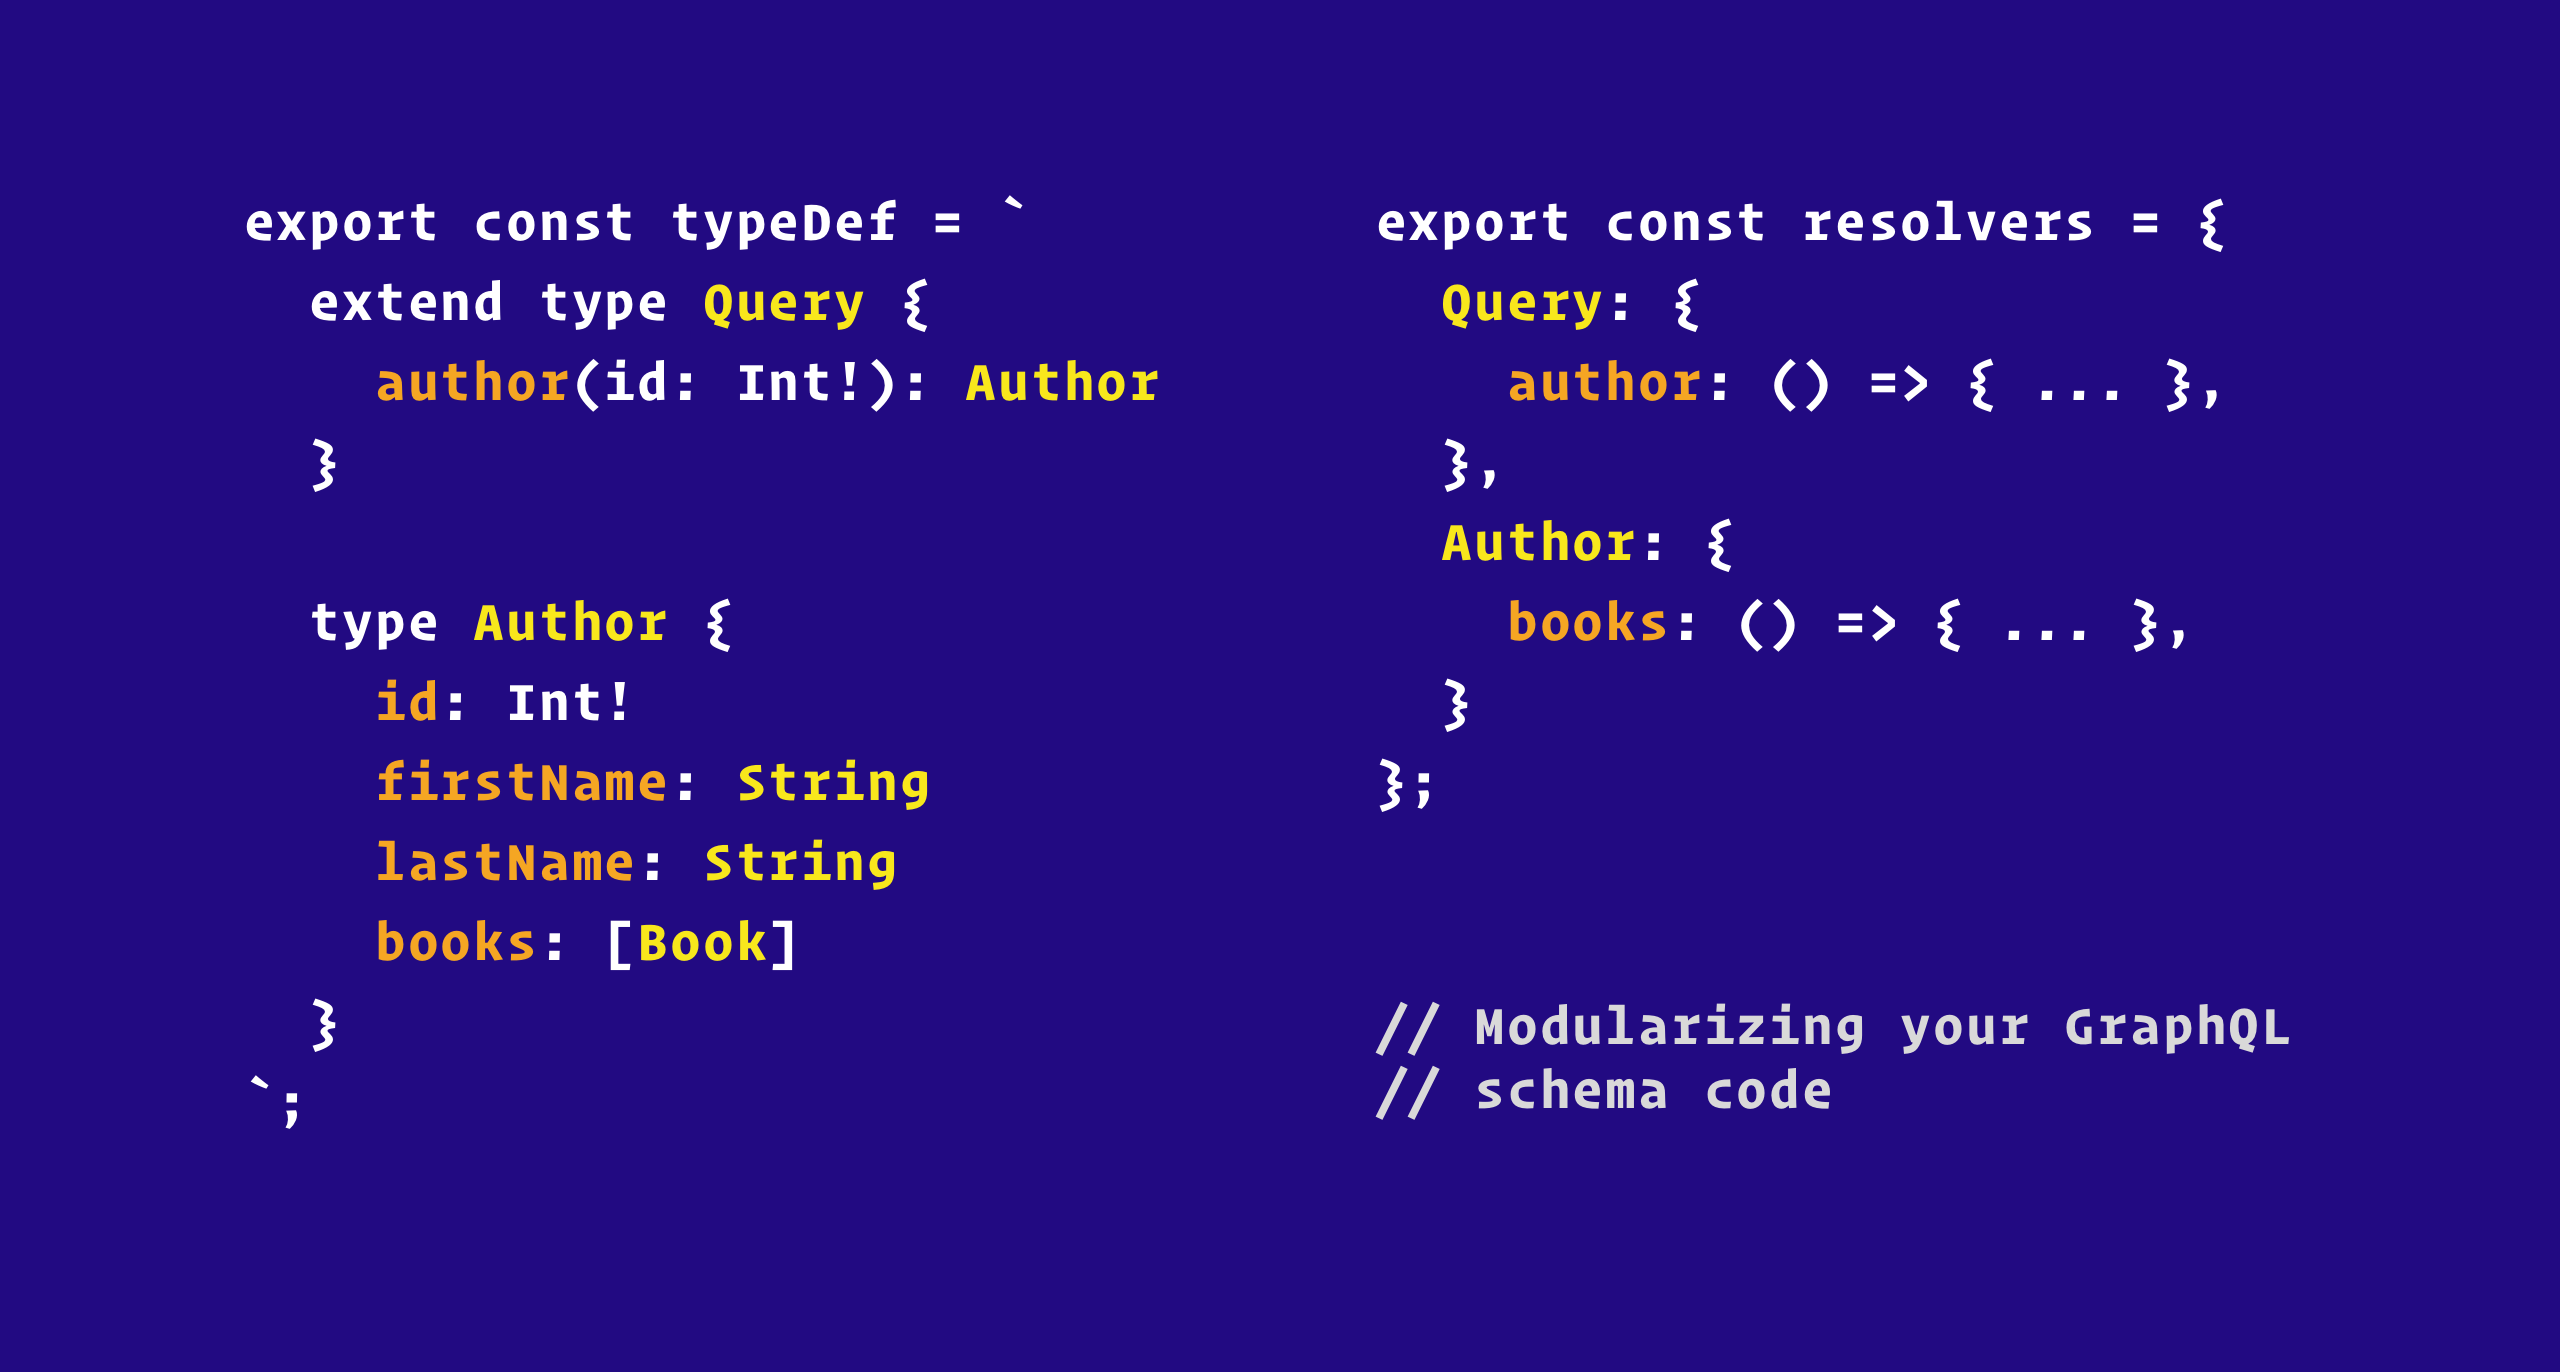
5。これらすべてのタイプを graphql string にまとめて、モジュールとしてエクスポートします。
 const typeDefs = `#graphql
     type Query {
         getUser(id: ID): User
         posts:[Post]
     }

     type User {
         id: ID!
         username: String!
         email: String!
         posts: [Post]
     }

     type Post {
         id: ID!
         title: String!
         content: String!
     }
 `;

 export default typeDefs;
6。このエクスポートされたファイルを graphql サーバーインスタンスで使用できます。
 // importing typedefs aka schema
 import typeDefs from "./graphql/schema";

 const server = new ApolloServer({
     typeDefs, // using schema in our graphql server
     resolvers,
 });
あれを見て!私たちは、ユーザーとその投稿のための居心地の良いスペースを構築しています。
プロのヒント: 効率的なスキーマリレーションシップにより、アプリはチャンピオン並みのパフォーマンスを発揮できます。
完全なサンプルは Github で閲覧およびフォークできます。 graphql スキーマの実装
次回のブログでは、ここでスキーマで定義されたクエリのリゾルバーを実装し、投稿とユーザーの関係がどのように機能するかを理解しようと思います。

.svg)

私たちを信頼している6000人以上の業界幹部の仲間入りをしましょう。
私たちを信頼している6000人以上の業界幹部の仲間入りをしましょう。

何千人もの経営幹部から信頼されているニュースレターを購読してください。


.svg)
.svg)
.svg)
.svg)